To shoot IR you need a few things first -
1. An SLR camera with an image sensor that does NOT block out IR light. All camera sensors are designed to block out IR light, but the older SLRs don't block nearly as much as more modern cameras do. For example my old Nikon D40 is perfect for shooting Infared. My Nikon D7000 ... not so much.
2. An Infrared filter - the one I was sold on and use pretty much exclusively is an R72 Filter. A few different companies make an R72 filter - Hoya's R72 is a top of the line filter with great reviews and a top shelf price to go along with it. Bower is another brand that makes and R72 filter that is about half the price of the Hoya. Of course me being a penny pincher - I took the risk and went with the off brand. The Bower filter for me works flawlessly. It takes great images and has time and time again given me the results I was looking for.
3. Tripod! One of the first things I noticed about the IR filter is that it is pretty much black. You can barely see any visible light through this filter (because it only lets IR light through) meaning you need to use much longer shutter speeds to get a proper exposure. On a bright day in the middle of the afternoon I typically shoot f/3.5, ISO 400 and still have to use a 1/4 second shutter speed! A tripod is definitely helpful but it is still possible to hand hold a crisp IR shot if you position yourself right.
The first thing I noticed when I put the filter on is how there is virtually no visible light coming through this filter... it looks black, and it was near impossible to compose a photograph through it simply because you can not see what you are shooting! Also the lack of light means you need to keep your shutter open for quite a bit longer than a normal daytime exposure. I was finding that at an ISO of 400 and an F-stop of 3.5 was leaving me anywhere from a 1/8s to a 2 second exposure!
Now, as I was saying earlier you can take amazing black and white images in Infrared and with a little software, you can create surreal color images! Black and whites are easiest as you can take the photo all in camera either by setting your camera to B&W or by converting it in camera afterwards.
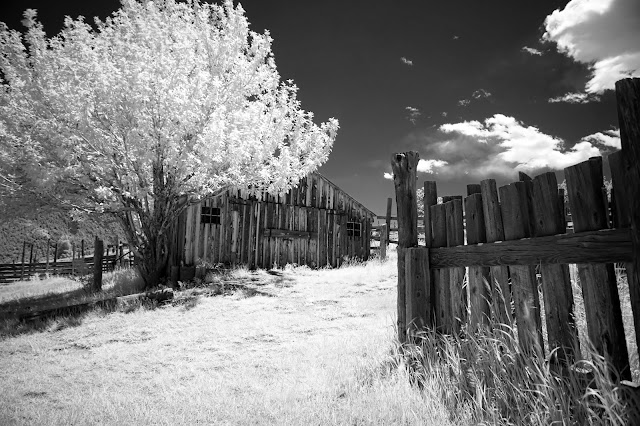
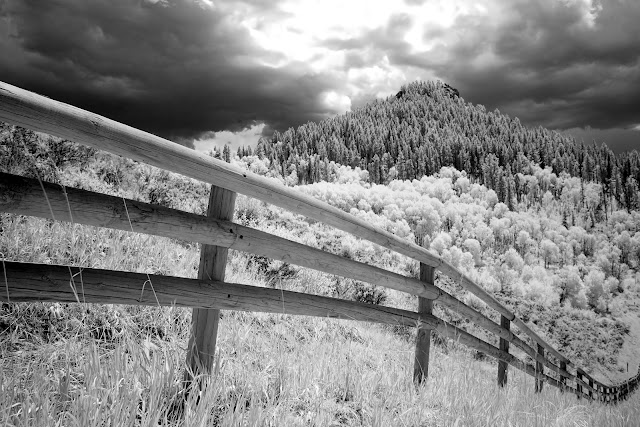
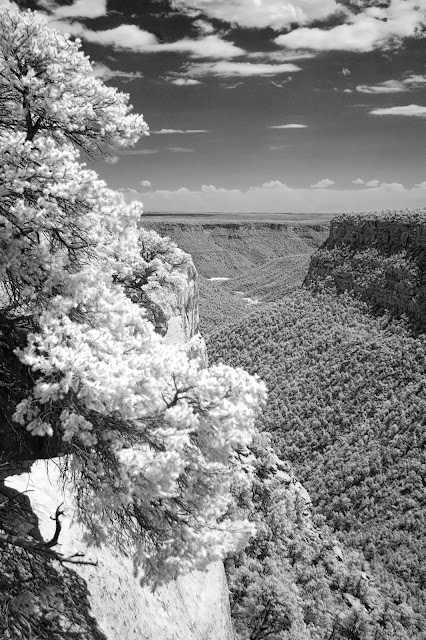
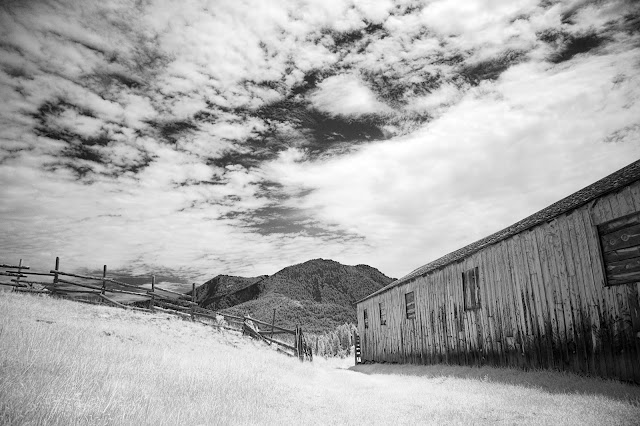
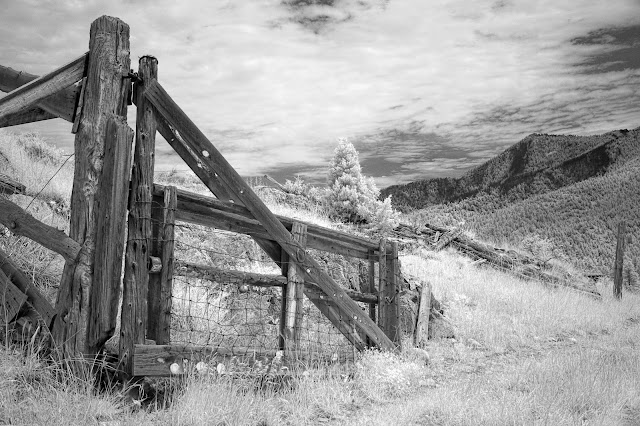
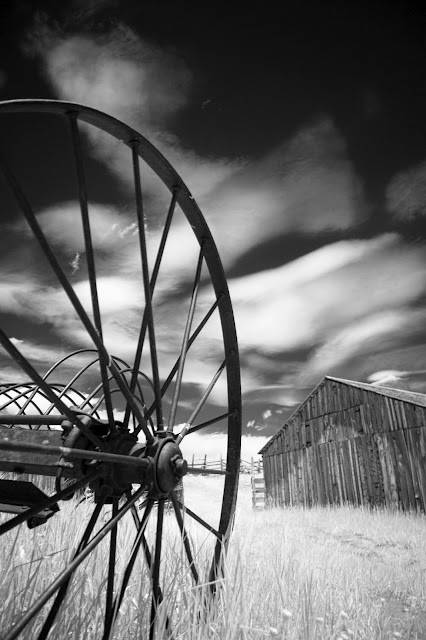
As you can see an infrared photo in Black and White has amazing results. The sky becomes almost black, contrasting the frost white foliage and clouds. Shadows also pop, giving everything an extreme depth to it. The longer shutter speed though means shooting on a still day is Ideal. The very last photo in the series of B&W's you can see how just a little wind will give trees and anything else moving motion blur quite easily.
(Which can add to a photograph greatly if that's what your intention was!)
False color shots are just as easy, they just requite some post processing. Because of the processing I recommend that you shoot your files in RAW, as you will need to manipulate the white balance later.
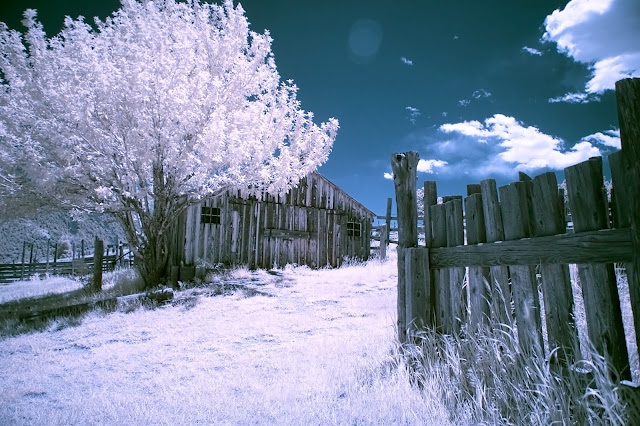


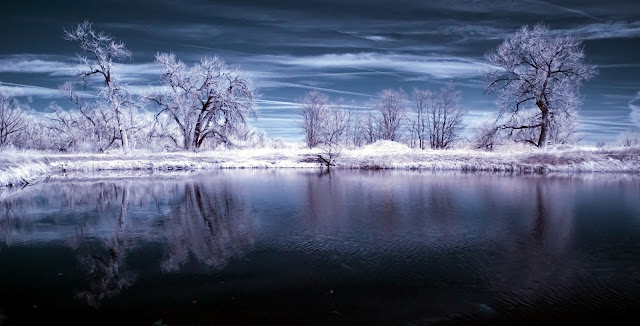
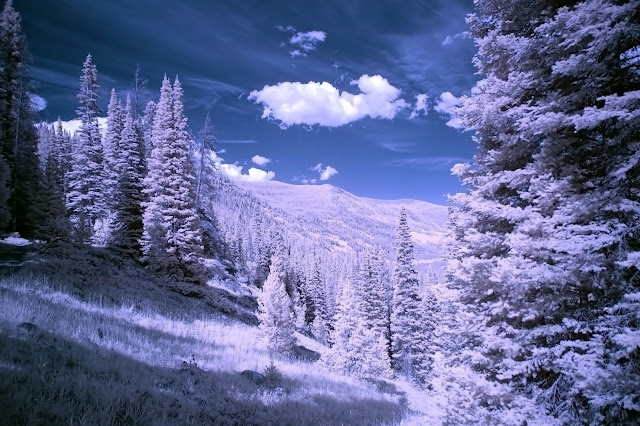


This last image I also did a color version as well as a B&W.
As you can see the color images have a surreal feeling to them. The sky is dark dark blue, almost black even! while the trees are ghostly white with hues of red and purple (sometimes even yellow depending on how you decide to process the images)
To get a false color image it is quite simple. You just need to follow these steps.
1. Open your RAW file into your photo editing software (I just have Photoshop CS3 it works great!)
2. Set your white balance - Since the foliage in the shot is naturally bright white, you want to get your white
balance eye drop tool and click on a leaf or grass or piece of foliage in the shot.
3. Channel Swap! - basically your are swapping the color red in the photograph for the color blue.
When you bring up the channel swap menu, you will see a Red Channel a Green Channel and a Blue channel.
The red channel has it's values set to 100% Red and 0% Green and blue.
Change the values to 0% red and 100% blue.
Next go to the Blue Channel and do the exact opposite (100% red and 0% blue)
Once you have done the channel swap, and you have a dark blue sky, your final step is to adjust the color levels. Auto levels work well in most instances, but feel free to play around with the levels manually.

No comments:
Post a Comment